Integration with SendinBlue
Integration using Zapier#
You can integrate JivoChat with thousands of different platforms by creating a Zap using our Zapier integration. With this integration, we send the "chat_finished" event so that you can forward data from chats and clients from JivoChat to any of the thousands of apps available for integration in Zapier.
One of the available integrations is with the marketing platform SendinBlue. To integrate JivoChat with SendinBlue, please follow the steps below:
Please go to Zapier and log in to your account. If you do not have one yet, you can create it for free. Free Zapier accounts can have up to 5 2-step Zaps.
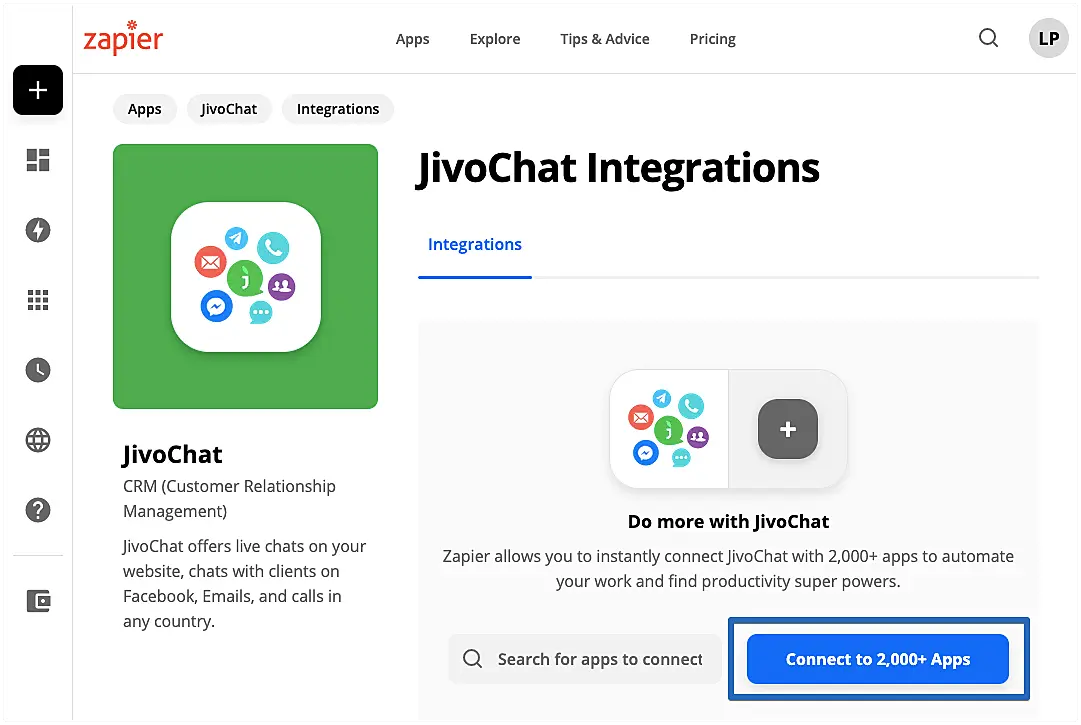
After you are logged in, come back to this tutorial and click this direct link or copy this URL and paste it in your browser: https://zapier.com/apps/jivochat/integrations.
You can also simply search for "JivoChat" in the list of available integrations inside Zapier.
When it is loaded, you will see the page below. Click on "Start using JivoChat now!".
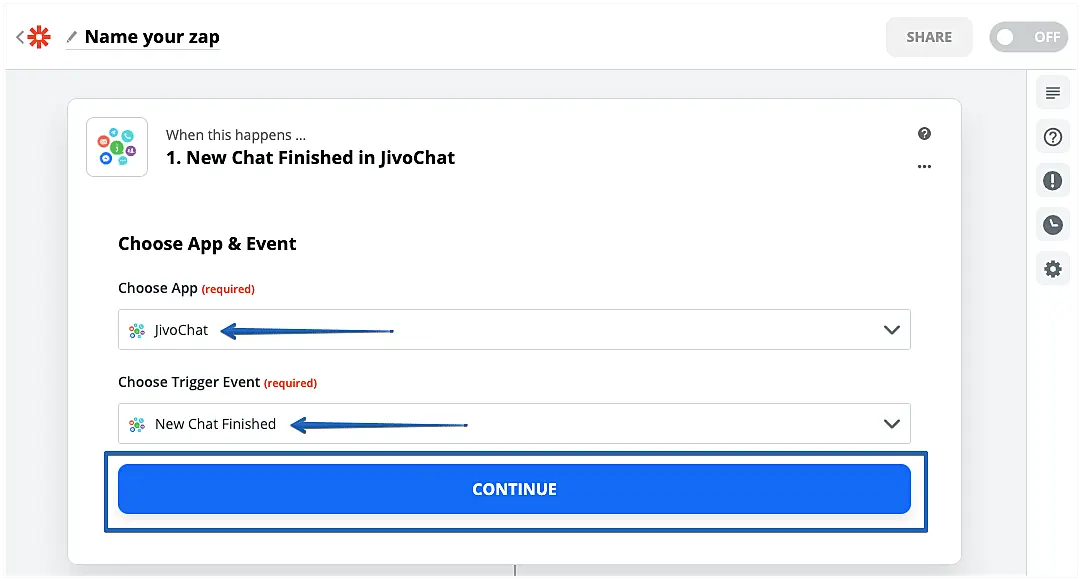
Now you will see the only event we send from JivoChat. Click on "Save + Continue".
In this step, you will connect your JivoChat account. Click on "Connect an Account". A new window will open for you to log in with your JivoChat credentials.
After logging in, please choose the channel to connect and click on "Save + continue".

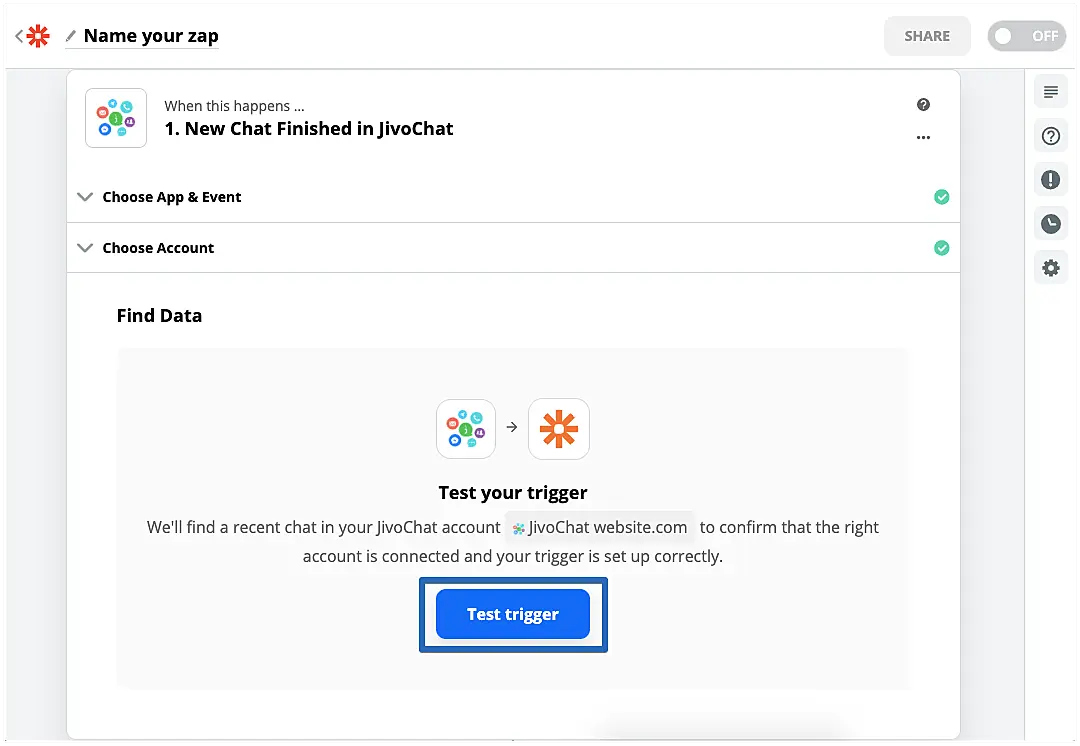
Here you will pick a sample to make your Zap. Just click on "Continue" once more:

The JivoChat configuration part is now done. Click on "Add an action" or click the button below as shown in the screenshot.
Search for the SendinBlue app and select it from the list.
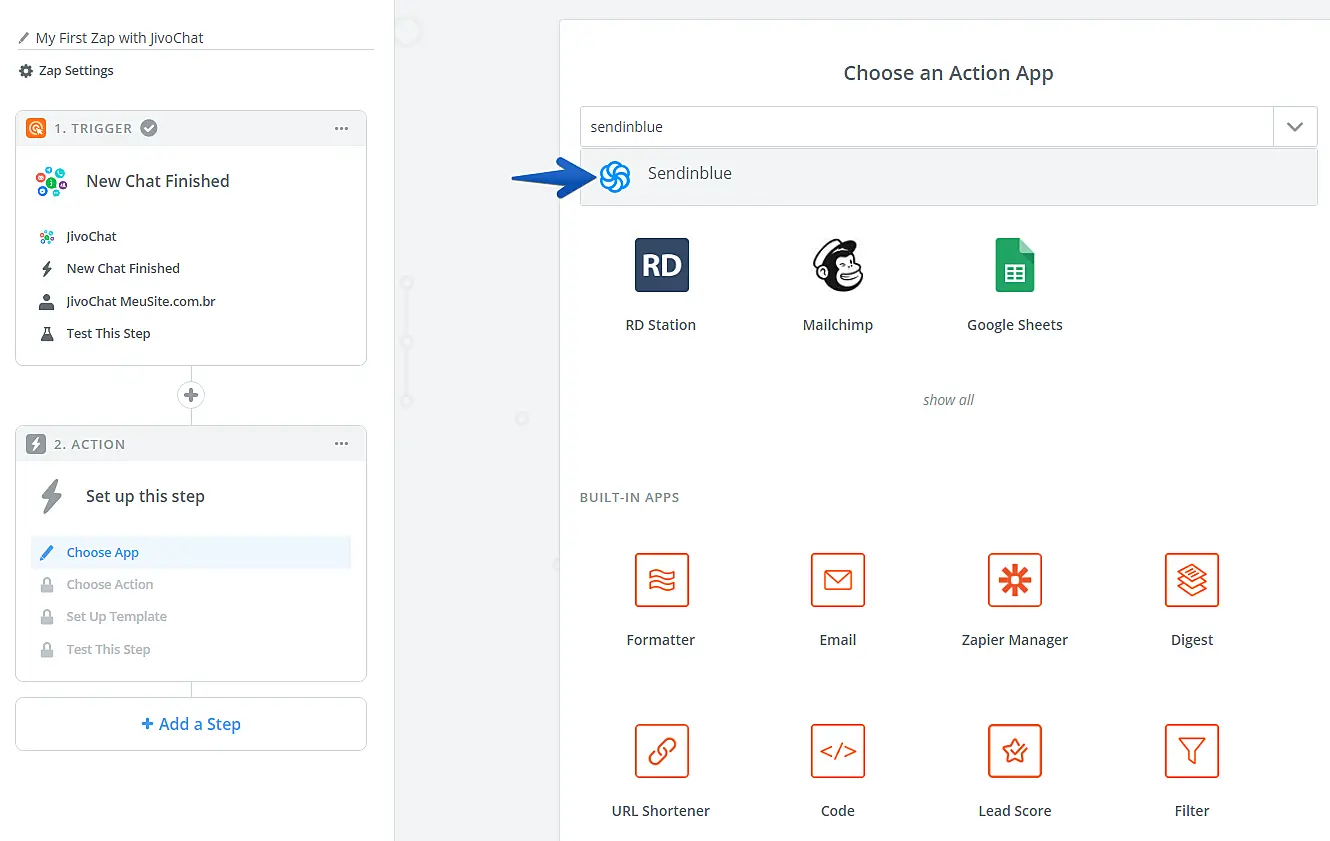
Please notice that there are many integrations available in Zapier, each with custom fields not controlled by us. If there are any issues with integrating third-party apps, please contact Zapier's support team directly.
Select the desired action and click "Save + Continue".

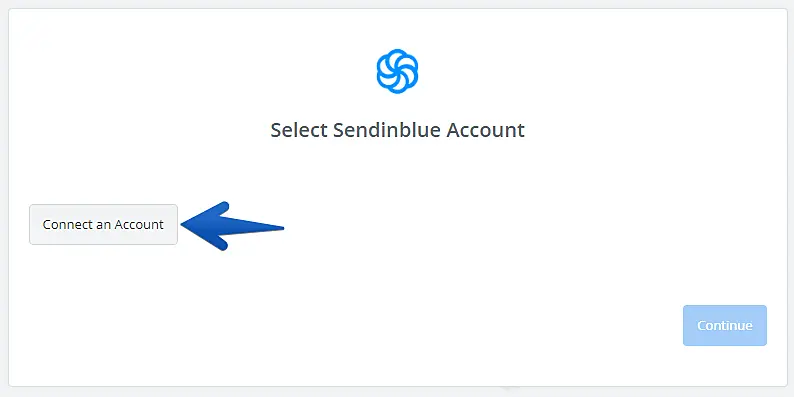
Connect your SendinBlue account by clicking "Connect an Account".
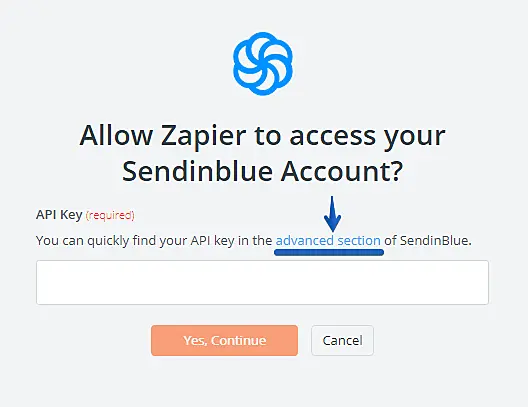
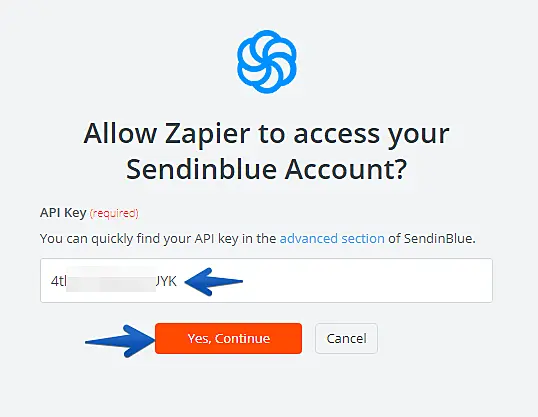
To connect your account, you'll need to inser your API Key. If you don't have it in hands, click the "advanced section" text to be redirected to your SendinBlue panel where you'll find your API Key.
Copy the version "v2" key found in your SendinBlue panel.
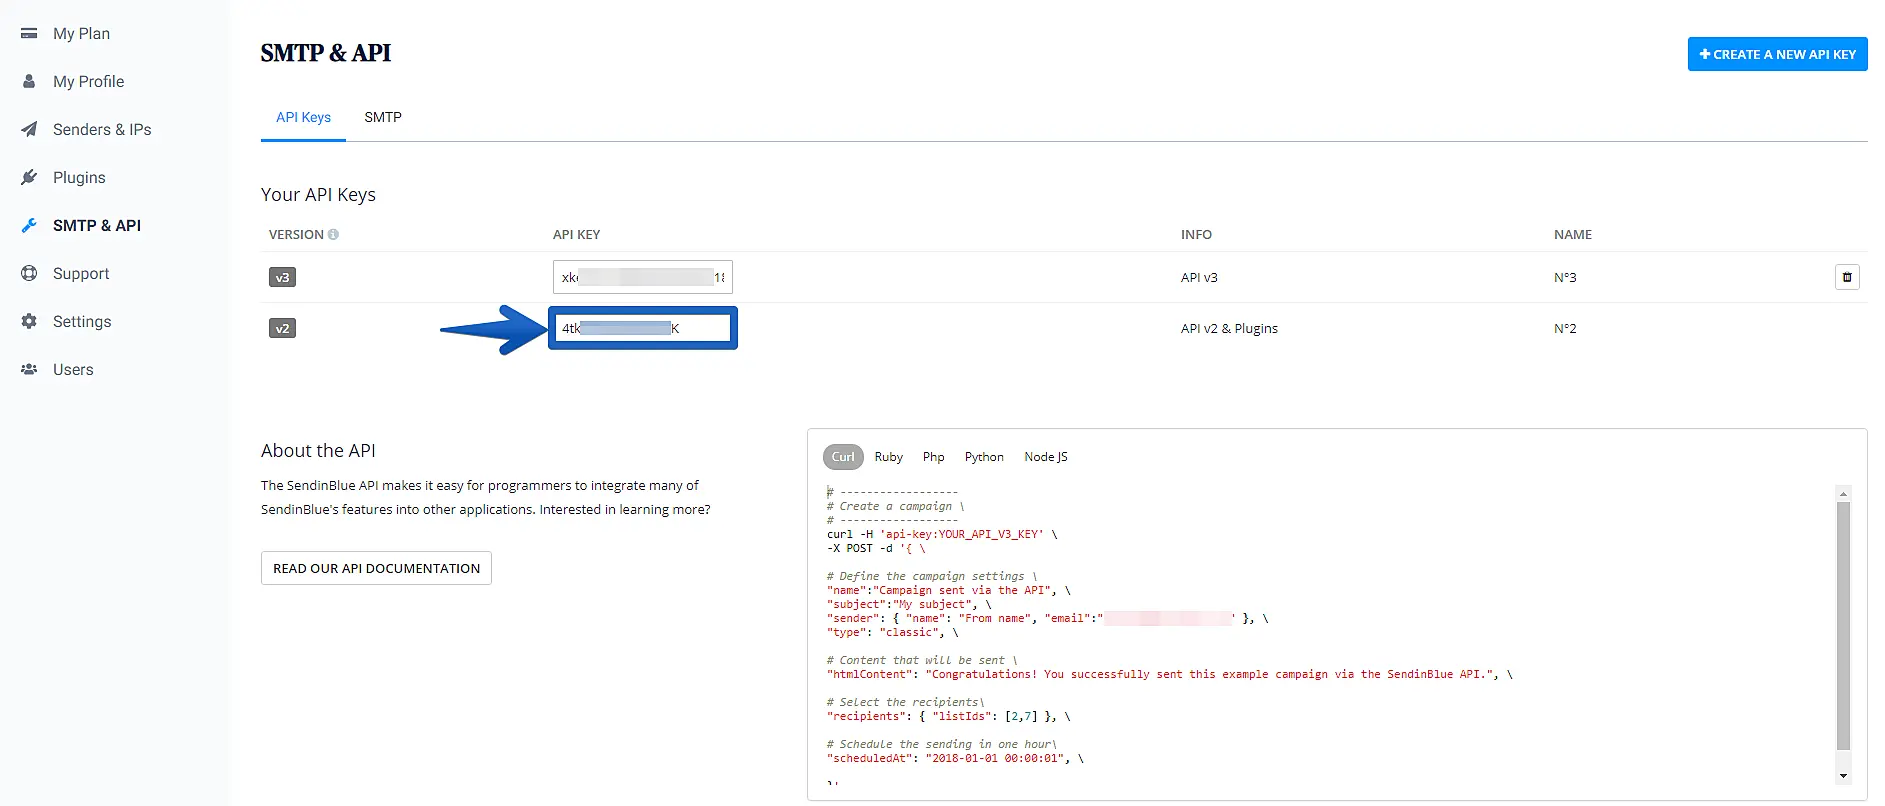
Paste the API Key and click "Yes, Continue".
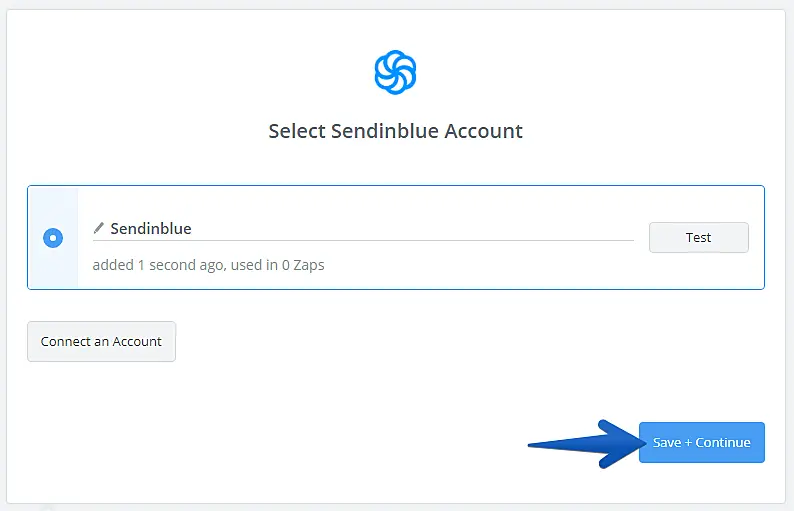
After connecting the account, click "Save + Continue".
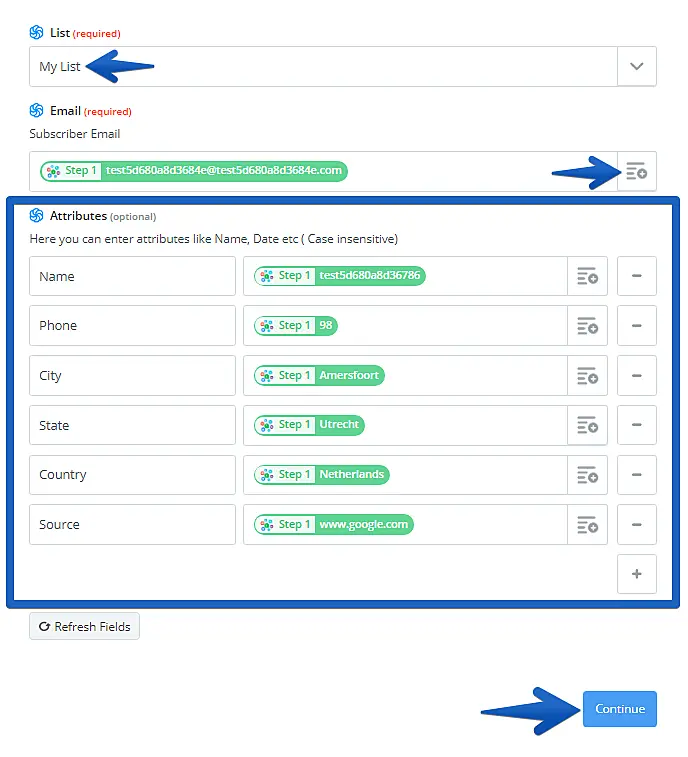
Configure the integration template any way you want, selecting at least a List and in the Email field, click to select a field from JivoChat (pointed in the image below at the right side of the Email field) and choose the "Visitor's email" field. If you wish, you can choose other JivoChat fields to be sent inside the optional Attributes fields you'll find by scrolling down in the page. Please notice that the Attributes must be set up previously inside your SendinBlue panel for it to work correctly; if you need any assistance, please contact SendinBlue support team.
Once you're finished, click to "Continue" at the end of the page.
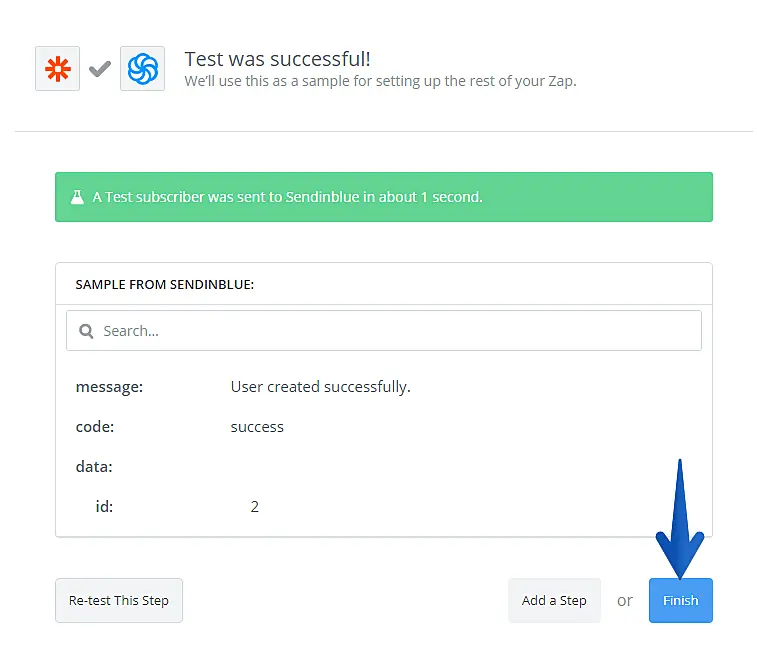
In the next step, you may send a test to SendinBlue to see how it looks or skip the test if you're sure you got it right.
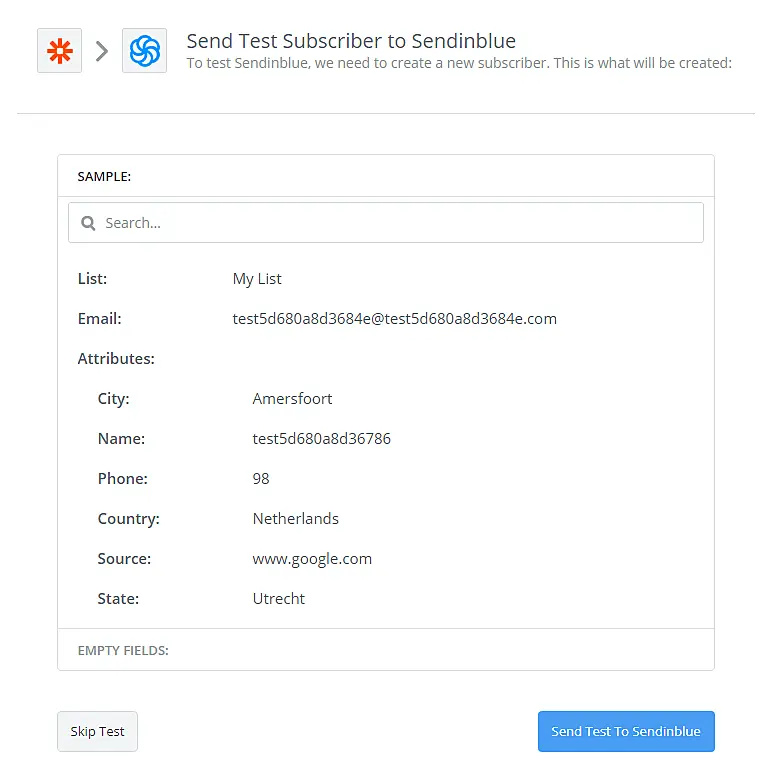
After finishing or skipping the test, click to "Finish".
Now all you need to do is activate your Zap for it to start working.
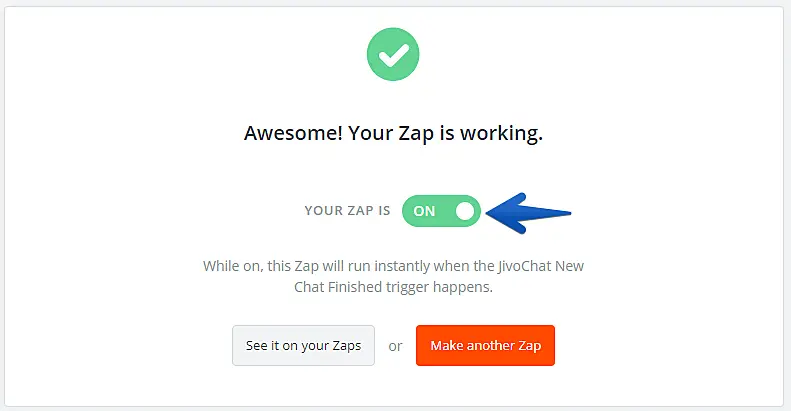
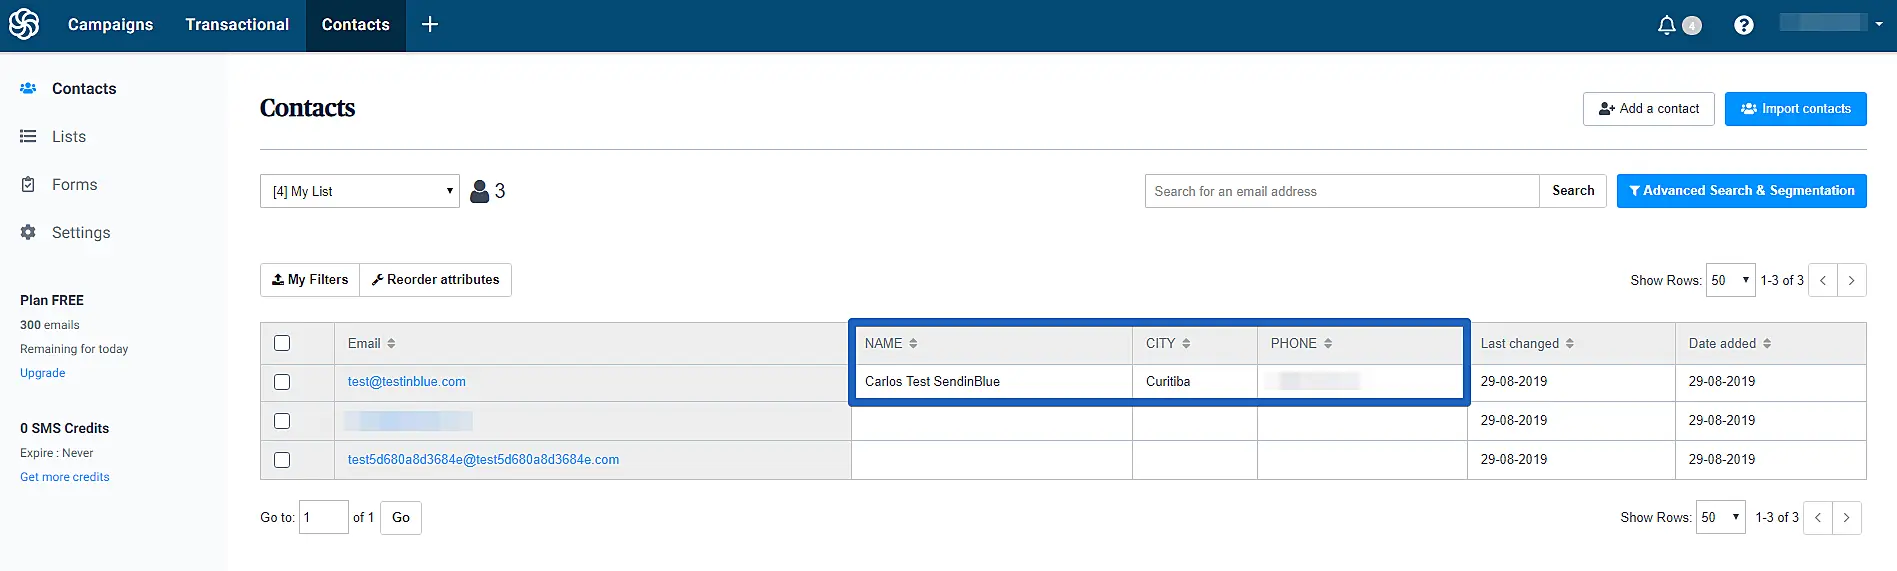
That's it! Now you'll receive the selected data from our "chat_finished" event directly in your Contacts data in your SendinBlue account.