

How to install the chat code on Wordpress
Method 1: Install the JivoChat WordPress plugin automatically#
The easiest way to install JivoChat is by using WordPress' Search Plugins function. To do this, go to WordPress admin panel -> Plugins -> Add New. Also you can open the plugin directly on WP plugins page and install it.
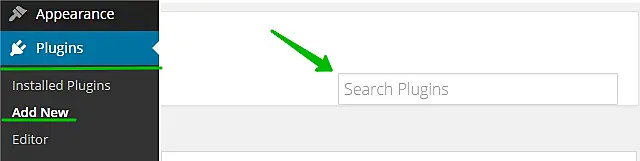
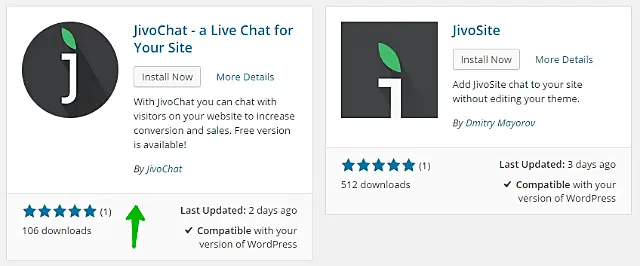
Select "Search Plugins" and type JivoChat. There are 2 plugins available from our company, choose the first one (called "JivoChat - a Live Chat for Your Site"). Click on "Install Now" and then activate it.
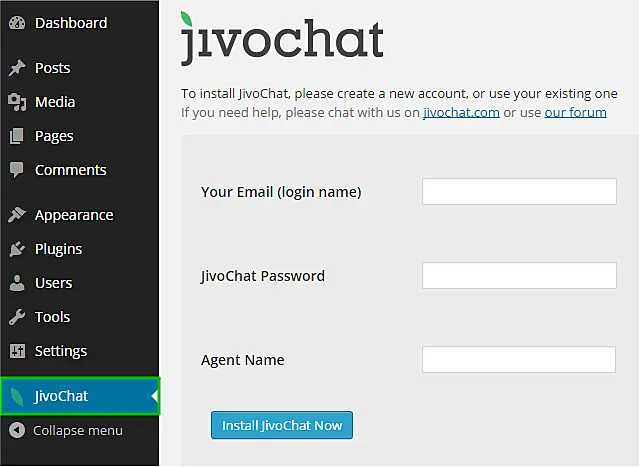
On the left navigation menu click on "JivoChat," fill in your login credentials, and click "Install JivoChat Now"
You will see a "Congratulations! You have successfully installed JivoChat on your website" message when completed.
You can now install or launch the Agent’s App in order to receive chats if you haven't already done so.
Method 2: Install the JivoChat code in the footer file of your site#
Go to your WordPress admin panel, and navigate to the Appearance section. «Appearance» -> «Editor».
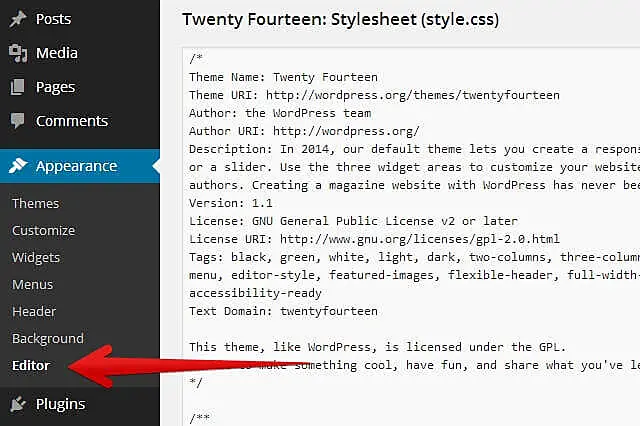
Select the «footer.php» file and edit it.
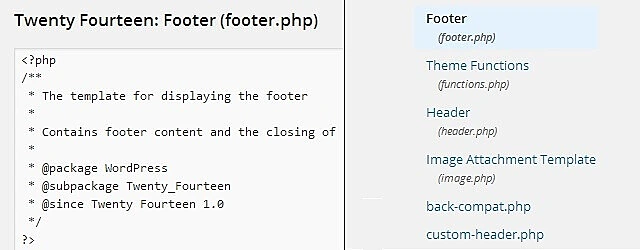
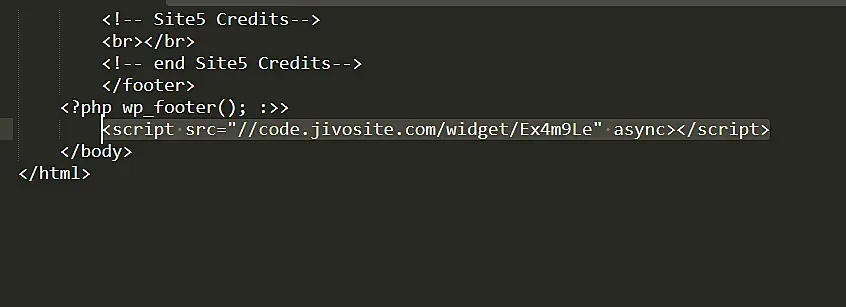
Install the JivoChat code before the </body> tag.
Make sure to save the settings by clicking Update File, and you’re done!
The JivoChat code is available in the JivoChat app, in the Installation section: Manage -> Channels -> Settings -> Installation.
Method 3: Installation with ftp access#
You can also connect JivoChat to your site through its source files, using an ftp-client.
Navigate to: wp-content/themes/Your template/footer.php.
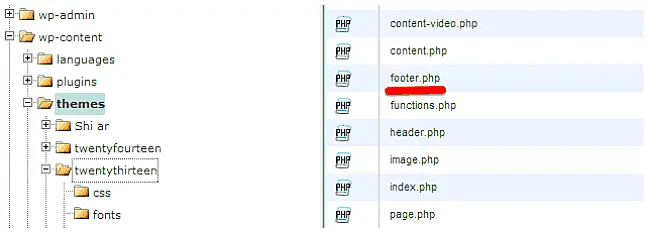
Next, click Edit to open and edit the footer.php file, and paste the JivoChat code before the </body> tag.
That’s it. You’re done!

